Showing posts with label crafts. Show all posts

Tuesday, April 7, 2015

Fun spring craft ideas roundup

It is starting to warm up her a bit in Steelerland and I have Spring fever. Since we are gearing up with a huge kitchen renovation, I cant spruce up the house like I normally would so I have decided we need to go overboard with the crafts so we can pretty up the place a bit.

My favorite craft would be the stainglass butterflies. We did this last year and I still love them and we placed them on our patio door. This year I want to do a nice little collection to add color and cheer. Icanteachmychild.com has a great tutorial, simply click on her picture and follow the link.


My girls keep talking about the April showers bringing May flowers so why not make some rain sticks? Happyhooligans.ca has a nice tutorial on making this fun craft


I am a sucker for anything the involves footprints or handprints so this craft idea is high on my list. I think it would be adorable on the front door or has a mother's day gift.  Pinkie Pie has a whole bunch of ideas, just click on her picture for her posts. How cute is that little chick?!?


Since Easter just passed, it is a safe bet that many people colored eggs and now have empty or half empty egg cartons around. This craft is a great way to reuse those cartons and make some pretty art. I personally think this would be a wonderful gift either for mom, grandma, or a teacher. My girls participate in girl scouts so I am even thinking this would be a fun thank you gift for our troop leaders. Amy over at Modge Podge Rocks is responsible for this idea. Click on the picture to find her tutorial. 


Tuesday, February 1, 2011

Easy DIY flower


Have you seen those pretty silk flowers that have popped up on shirts, jackets, pins, or hairclips? Well they are SUPER SUPER easy to make.


What you need-material of your choice, not cotton!I am using chiffon but you can use cheaper silk or tulle.
Scissors
Hot glue gun
New candle
Beads
thread and needle
hair clip, bobby pin, or pin back
Felt

First step is to cut your flowers. I like FULL flowers so I usually do 6-7 layers of varying sizes. I cut the material in squares and then fold them in half to make them easier to cut.
You want to cut out several sizes, including small and large just like real flower petals
Now you get to play with fire. I use new(er) candles for this so the flame is higher. You cant use a lighter because you need both hands. You are going to use the candle flame to shape the petals and make them curl up. You will also get that singed appearance around the edges. Now you do this by placing the material NEAR the flame, not directly on it. The heat will make the material curl up, you can also help it by shaping it with your fingers. This step may take some practice but it is not hard to master at all.

Now repeat with all the layers you cut and stack them.
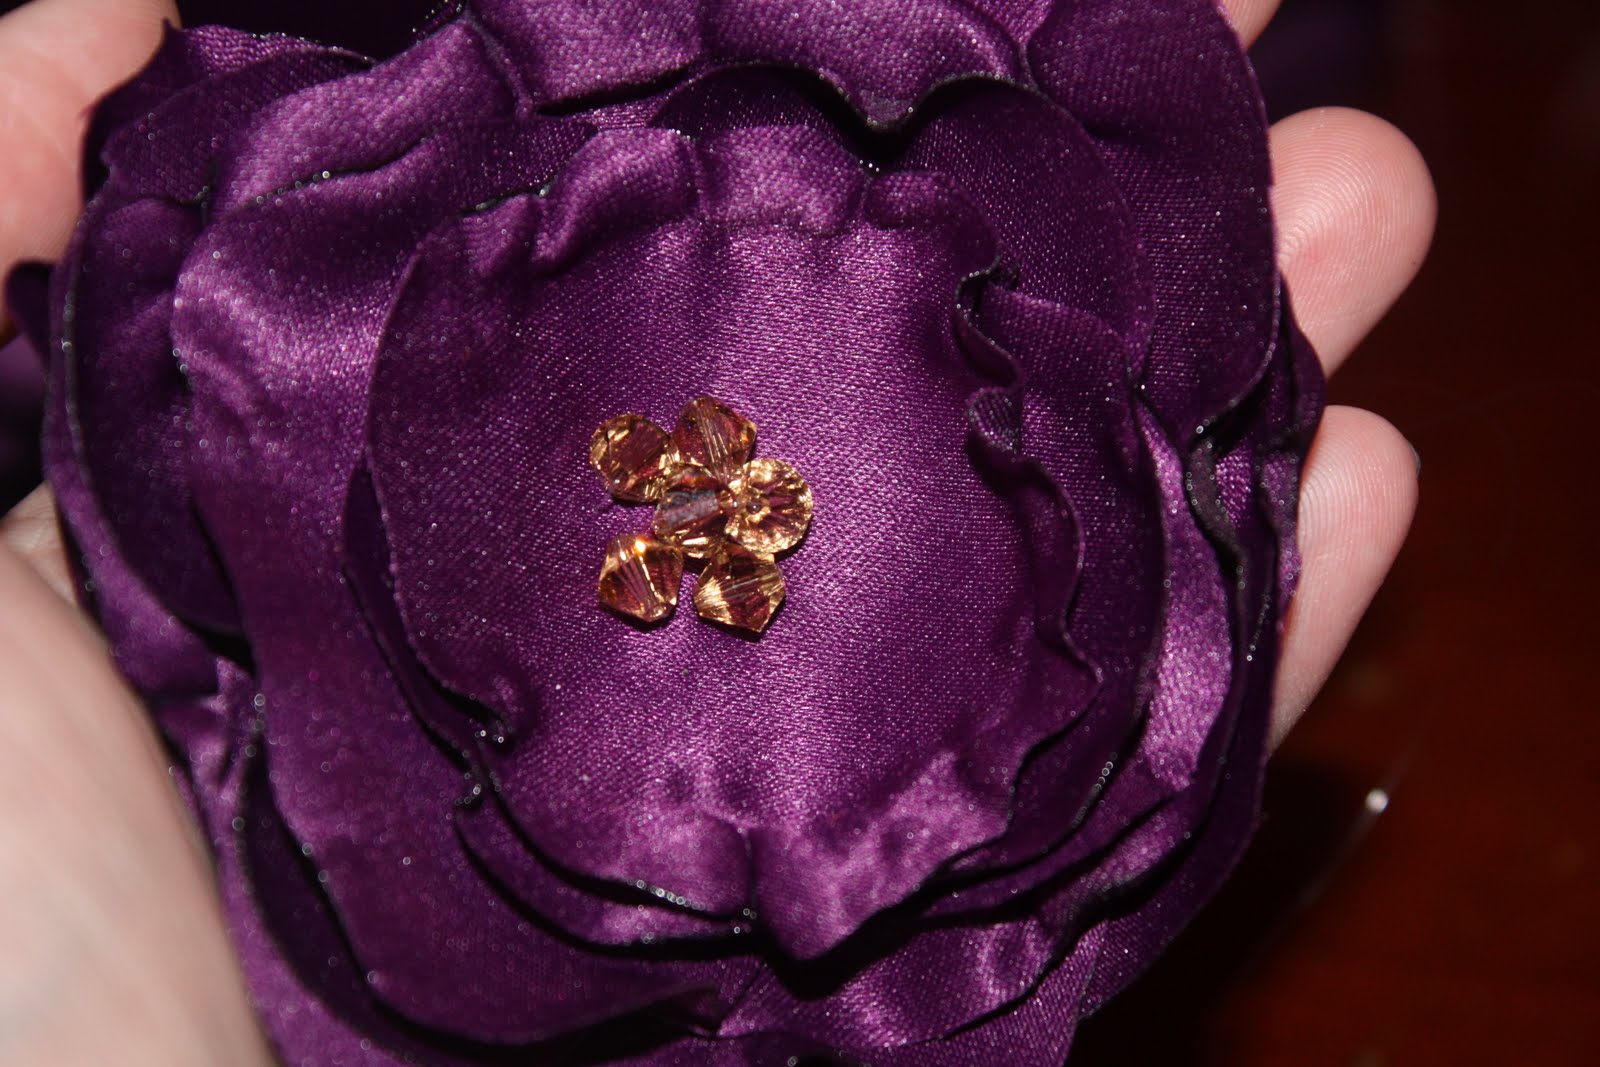
You will stitch the stake together and add some beads. You can also use pretty buttons or stones. For beads and buttons I like to stitch them as opposed to hot gluing them.

Awww now isnt that pretty?!?
Now to attach it to a bobby pin. You will place a square of felt on the back your flower.
Now attach the bobby pin. You need to use a bobby pin that has a pad on it. You can find them at Joanns, hobby lobby, etc. Once you have the attached the bobby pin, with hot glue, place a 2nd piece of felt over it. You want to make sure you dont interfere with the part of the pin that goes in the hair.
Want to make a pin? attach the first piece of felt and then hot glue the pin back to the felt.
Open the pin and then place a 2nd piece of felt so you secure it.

and you are done!

remember you can also use a french barrette or alligator clip. Use the same method-square of felt on the back, secure the hardware, and then a 2nd piece of felt to give extra security.

Friday, January 28, 2011

Party Party Party

My nephew is turning 1 on June 30th so my sister is already thinking of the party. I have stepped up as her personal party coordinator. As I told her, I come up with the ideas and all she has to do is say yay or nay and pay LOL
My sister mentioned that she wanted a monkey shirt so I immediately thought of this adorable shirt from my friend Loree-

and I talked to Loree, and she is going to do matching invitations YAY

So the theme is monkey and the colors are jungle colors like green,yellow.
My sister wants a personalized banner so I told her I would make one for her BUT using chalkboard fabric so it can be reused.
It will be similar to this one but using either ribbon or bias tape as a border around each triangle.


My sister is also GAGA over using a monogram and this etsy shop has some of the best ones, so super cute.

I think this would be perfect-

I have convinced my sister that a candy buffet is a must. She is renting out a room, so we need to come up activities that all the kiddos can do. I think a candy buffet would not only be cute visually, but it would keep the kids busy

but now I am OBSESSED with the idea of a Smores Bar-

Just imagine all the different chocolates you could put out for guests and then even additional toppings like candy pieces, strawberries or bananas

My sister also really loves the look of this party from Hostess with the Mostess


so I am also going to come with a graphic of a banana tree that can be used for other paper goods like labels.

My sister and I have agreed to coordinate party years, meaning we will TRY not both have big birthday parties in the same year. yes we live 7 hours apart but we want to attend all the parties so since this year goes to Frankie, next year belongs to the girls. I am already excited for it since it will be their first "friend party" since they are starting preschool in fall '11.

Wednesday, January 26, 2011

Tutorial-A Valentine's day hanging banner

So I used my embroidery machine and made each of my girls a banner for valentines day. They love them and agreed that they are BOOTIFUL
On each heart there is stitching to resemble lace, so cute-


I was spelling out love
Now you need to heat seal the edges. This is when you use the lighter. Just place the lighter close to the edge of the hearts NOT DIRECTLY TOUCHING. This helps cut down the fuzziness and gives a nice clean edge to the felt.

You now have to attach all the hearts together. I am making a vertical hanging blogger so I am going to basically use the ribbon to weave it in and out of the hearts.

Cut a small slit in the top of the first heart and then the bottom. Dont make it too big because it should snuggly hold the ribbon.


At the bottomof the last heart, you will need to glue the ribbon to the heart and make a loop so you can hang the banner.

If you want to make the banner hang horizontally, then cut small slits on the sides of the hearts and use ribbon to tie them together. That is what I did in the banners I made with my embroidery machine, so use that banner as a reference.

Hang and Enjoy!
If you find that the ribbon doesnt fit snuggly and the hearts shift around, just fix that with a bit of glue.

Tuesday, October 6, 2009

Yummy recipe

I am sitting here in my new raft room. Remember those pis I posted of the pretty craft/play room? Well that lasted 3 months. I have outgrown that room and it was becoming unfair to the girls. I was gating off the room because my crap was everywhere, my stuff taking up room, etc. Now I am in the basement, but its all good. The basement is finished, even has a small kitchen. Our big screen TV is down here as well, so I an watch TV while crafting. It also gives me peace and quiet to work. I am working on several new bow styles and it does take patience to figure out the new folds, how to secure the bow, etc. I think my move to the basement will work out well.

I made this yummy dish the other day. So quick and easy. I served it with some Chinese noodles & asparagus and I also doubled the sauce.

Sesame Beef
  • 1 pound round steak-I used sirloin because that is what I had on hand.
  • 4 tablespoons soy sauce
  • 4 tablespoons white sugar
  • 4 tablespoons vegetable oil
  • 2 cloves garlic, minced
  • 2 green onions, chopped
  • 2 tablespoons sesame seeds

DIRECTIONS

  1. Mix soy sauce, sugar, oil, garlic, and onions in a large bowl. Set aside.
  2. Cut steak into strips and add to bowl. Cover and refrigerate overnight, or at least 30 minutes.
  3. Cook in wok or frying pan until brown, about 5 minutes. Add sesame seeds and cook for additional 2 minutes.

Sunday, October 4, 2009

Can someone tell me what is going on?

So both girls are waking up every night at 2:30/3am. It is like clockwork and I cant figure out what is going on. Bedtime has gotten better so thats a plus but UGH the screaming at 3am, it is driving us insane and we get into the whole CIO battle. Tony wants to let them CIO and I am still against it. They are 16 months, 14.5 months adjusted so maybe there is a developmental reason for the waking?? Any insight or do they just hate us?
I am not some sort of martyr when it comes to their sleep, like "oh look at me, I give my kids everything including my sleep" because if you give them your sleep time well just give them your sanity while you are at it. I just try to keep things in perspective and repeat all the time "sleep is a series of highs and lows".
So since I dont know when I will be sleeping through the night, I've been making an effort to get to sleep on time. My latest craft obsessions are making it hard though. Have you heard of freezer paper stencils?? So easy and so much fun!I am officially hooked.
I made this shirt using freezer paper-

I used a large piece of freezer paper, cut out the shapes which creates a stencil. Iron the freezer paper onto your shirt and voila! I went the extra step and colored the shapes in.
This blog was my inspiration-
http://samstermommy.blogspot.com/2009/09/painted-jeweled-onesie.html

I also used the basic idea behind the bandana dress to make this dress. I found the fabric at Joanns and it was too cute (and cheap!) to pass up.


You can find the tutorial here
http://www.joyshope.com/2009/05/simple-bandana-dress-tutorial.html

I simply cute the cupcake fabric into the same size as a bandana and went from there.

Monday, August 31, 2009

Blog Giveaway! Halloween Korker headband!!

Since I am part of the multiples and more followers, I've edited my giveaway to sync up to their end of summer blog party! The giveaway will end at midnight on Thursday. For an extra chance to win the bow, link to my giveaway on your own blog! That will give you one extra chance.

Blog giveaways seem to be in the air, so I decided to try my hand at one. Sorry boys, this one is for the girls. I will be giving away one of my own halloween korker bow headbands. If you have multiples(twins or triplets) and have more than one girl, I will send you one for each girl. I dont wanna leave anyone out, but I will have to verify that you have more than one girl, Them are the rules kids.

Here is what you have to do. I am going to run this till midnight on THURSDAY. Become a follower of my blog and leave a comment in this post. I will use random.org to pick a winner.
Link to my giveaway on your own blog and get one extra chance of winning. Make sure you post the link so I know.
Good luck!

Tuesday, August 11, 2009

Tada! New chair

I picked up this $20 from goodwill. I loved the size and the shape. I could totally see both my girls sitting on it together reading or sharing secrets for years to come.
I dont have a picture of the chair itself, think 1970s wood stain.
This is one of the cushions-
and here is the finished product-
Here is how I did it-I used no sand primer on the chair and then applied two coats of white paint. For the cushions, I did a no sew slipcover. It isnt the proper way but it works. I laid the fabric out and then folded it in, think hospital corners, and then used a high temp glue gun. For the back, I attached snaps. I will make proper slipcovers soon but I wanted something quickly. the fabric was $8 for 3 yards at ikea. I think it is such a fun chair.

Craft & Play all in the same space!

If you are a friend on facebook, you've already seen these pictures-
This room was suppose to be a formal living room, but a formal living room with two tots running around?? yeah whatever.
I wanted it to be pretty and functional. I still need to get new storage options for my craft items and add a few more decorative pieces-

My craft area-
The reading area-

Friday, July 31, 2009

My insanity knows no bounds

So I blogged about the company my husband and I are setting up. I wont say the name but the scoop is that we(meaning T) will be designing and programming the games and we(meaning me) will market to mobile device users-iphones, blackberries, google phones, etc.
This has kept us very busy and I am handling the business end such as getting our LLC paperwork done, getting tax info, writing a business plan. Well I get the brilliant idea that this would be a great time to start selling my crafts! yay, I am an idiot!!! I've been making bows and hair accessories for a few months now and I get lots of compliments on them and people ask where I bought them, so I thought it might be a good idea to put a toe into the craft market. So now I am setting up an etsy store; trying to get approved for local craft fairs, woohoo got into one BTW, and figuring out all the other jazz such as taxes and pricing. My husband thinks we are crazy but we are both type A ambitious people so I guess it makes sense.

Speaking of crafts, I want to share a little project I did.

Take a $5 lamp
plus a $3 can of silver spray paint

and you have a brand new lamp!
It is the one on the right. I had a matching set of the lamp on the left, but I lost one in the move. I was so upset but I think the new one has the same sort of feel. Not bad for $9, right? I picked up a chair last week that needs some TLC, I will post pics when I am done with it.